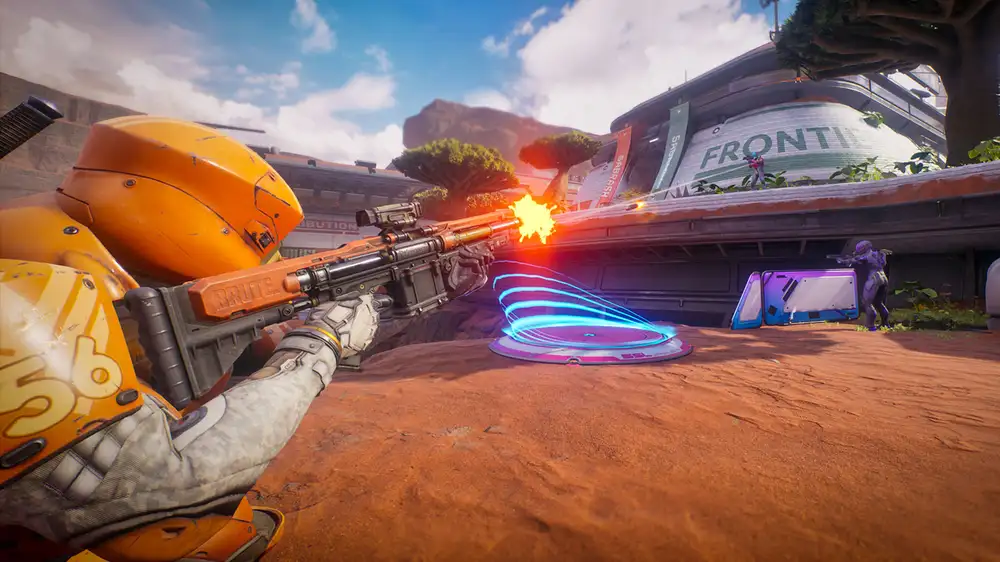
Splitgate 2 is finally here in open beta, and you’ll need to lock in the best controller settings to give yourself the best chance possible.
Movement and aim are as important as they are in any shooter, but Splitgate 2 takes it one step further with portals. With a combination of planning and quick thinking, you can literally fly around the map with portals and keep the enemy guessing.
It’s much easier with the best controller settings, so here are all of the options you can use to get a major advantage.
Best controller settings in Splitgate 2 beta
Sensitivity comes down to personal preference, but anywhere in the 6-9 region should work well. 6.25 works well for me and my setup, so give that a try, but move it higher or lower depending on what feels best for you.
It’s important to have your deadzones as low as possible without getting stick drift. This will vastly improve the responsiveness of your controller, but if you have it too low, you might see your crosshair drift across the screen. You should set it as low as possible, then increase the number until the stick drift is gone.
Exponential Response Curve will work best for most players, but if you’d rather the controls feel more similar to Splitgate 1, then give Linear a try. I would also recommend sticking with the Radial Acceleration Type, as it felt much better to me.
You can turn Aim Assist Strength down to 0.9 or 0.8 if you feel 1.0 is too strong, but with a lot of Splitgate 2 fights taking place at close-mid range, the stickiness of full-strength aim assist made gunfights feel easy.
Best FOV
The best setting for Splitgate 2’s FOV is 103, as it allows you to see much more of your surroundings, improving your spatial awareness, and prevent any motion sickness that would crop up when having a smaller FOV.
How to find the best controller settings
The easiest way to find which controller settings suits you best in Splitgate 2 is to play a private match against bots. This is a stress-free place to warm up and tinker with the settings until you find something you’re comfortable with.
Here’s how:
- Head to the main menu and hit Play.
- Go to ‘Custom Games.’
- Click ‘Create Lobby’ at the top.
- Select your Mode and Map, then go to ‘Advanced Settings.’
- Under ‘Bots Rules,’ make sure Bots are Enabled.
- Hit ‘Create Lobby’ then ‘Play.’
The bots will look like real players with normal-looking names and pictures, but rest assured, they are bots.
 Windows 11: è più veloce con un'installazione pulita e Smart App Control